Visual Studio: Creating a solution template for multiple projects
We will do a process to create the infrastructure of your project with one click, without having to re-create the same codes for each project. It’s easy when it’s a single project. By making an Export Template under the Project menu, we can simply save a single project as a template and use it in new projects. But what do we do if there is more than one project in the solution, for example in multi-layered architectures?
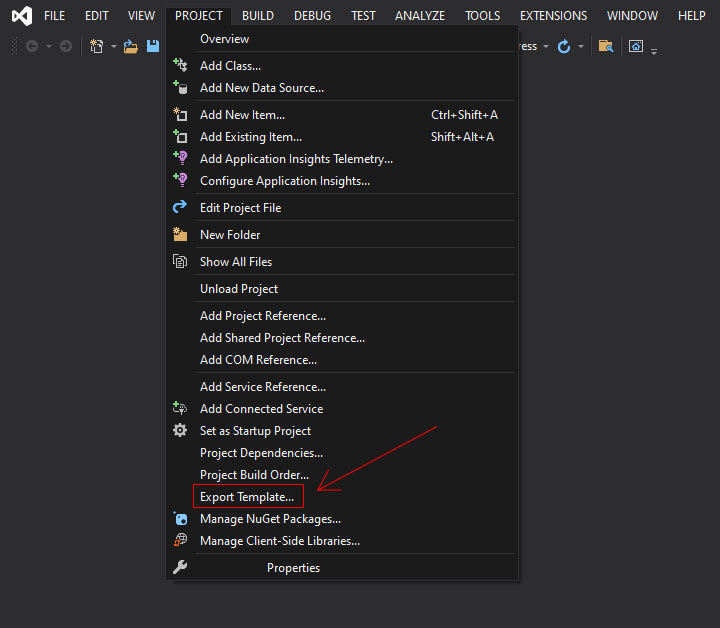
The solution actually starts in the same way. For all layers (projects) in the solution, we need to make an Export Template under the Project menu.
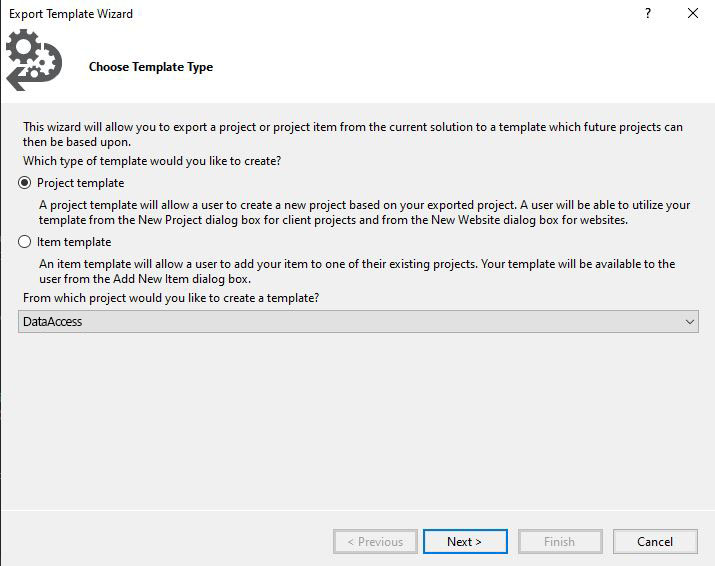
When we click on Export Template, a menu like the one below appears. From here, we select the layer (project) that we want to create a template for. In the next step, after entering the template information, we complete the process with the Finish button.

After doing this process for all layers one by one, we open the folder that says Output location given above. We should see all the layers in the folder as a separate zip file. We need to extract these zip files into folders as follows. It gives me an error like a header error during unarchiving, it didn’t cause any problems, it can be ignored if you find it too.

After the above image is created, we can delete our zip files. Finally, we need to create a file with the extension vstemplate in the same folder. (Ex: MyTemplate.vsproject) After creating this file, we need to write the following code inside the file.
<VSTemplate xmlns="http://schemas.microsoft.com/developer/vstemplate/2005" Version="2.0.0" Type="ProjectGroup">
    <TemplateData>
        <Name>My Template</Name>
        <Description>My template - multiple layers.</Description
        <ProjectType>CSharp</ProjectType>
    </TemplateData>
<TemplateContent>
    <ProjectCollection>
        <ProjectTemplateLink ProjectName="Business" CopyParameters="true">Business\MyTemplate.vstemplate</ProjectTemplateLink>
        <ProjectTemplateLink ProjectName="Core" CopyParameters="true">Core\MyTemplate.vstemplate</ProjectTemplateLink>
        <ProjectTemplateLink ProjectName="DataAccess" CopyParameters="true">DataAccess\MyTemplate.vstemplate</ProjectTemplateLink>
        <ProjectTemplateLink ProjectName="Entities" CopyParameters="true">Entities\MyTemplate.vstemplate</ProjectTemplateLink>
        <ProjectTemplateLink ProjectName="UI" CopyParameters="true">UI\MyTemplate.vstemplate</ProjectTemplateLink>
        </ProjectCollection>
    </TemplateContent>
</VSTemplate>
We save this file in this way and collect our folders and vstemplate file in a zip archive. You can give the name of this archive any name you want. Then you can throw this archive we created under a folder you want in C:\Users\[your windows username]\Documents\Visual Studio 2019\Templates\ProjectTemplates\ or directly to this directory. After doing this, you can open Visual Studio and use your new template.
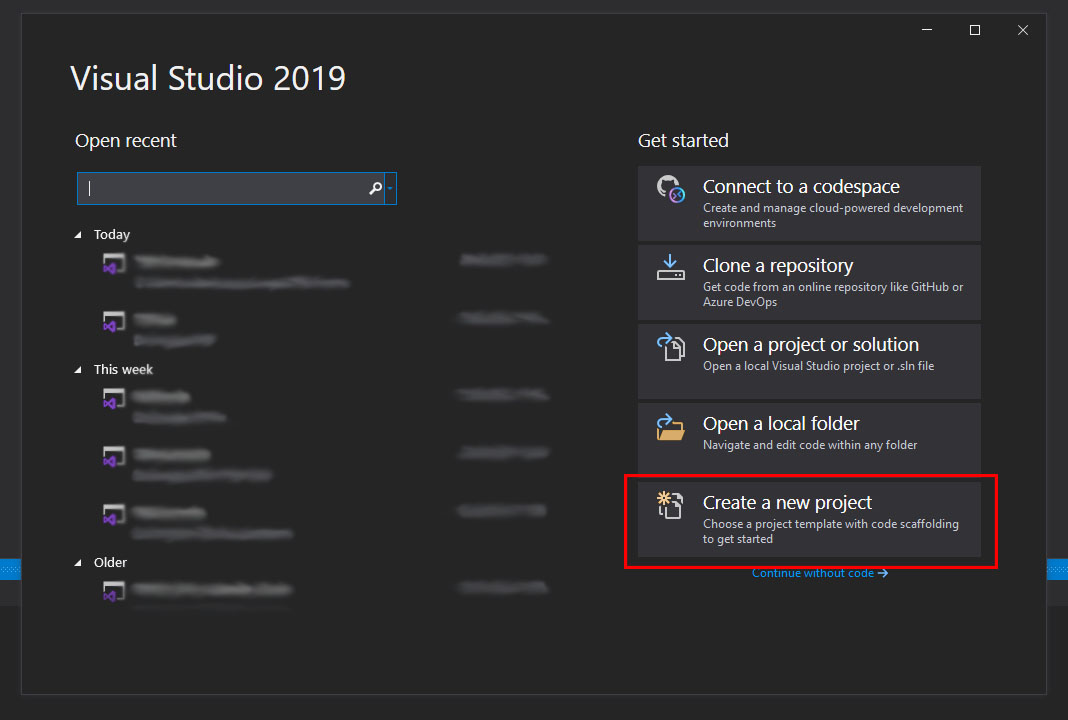
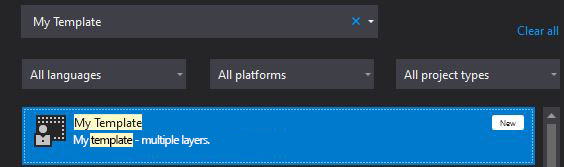
To use the template in the new project, when we open Visual Studio, select Create a new project from the options on the right, and type the template name we wrote in vstemplate, it will appear.